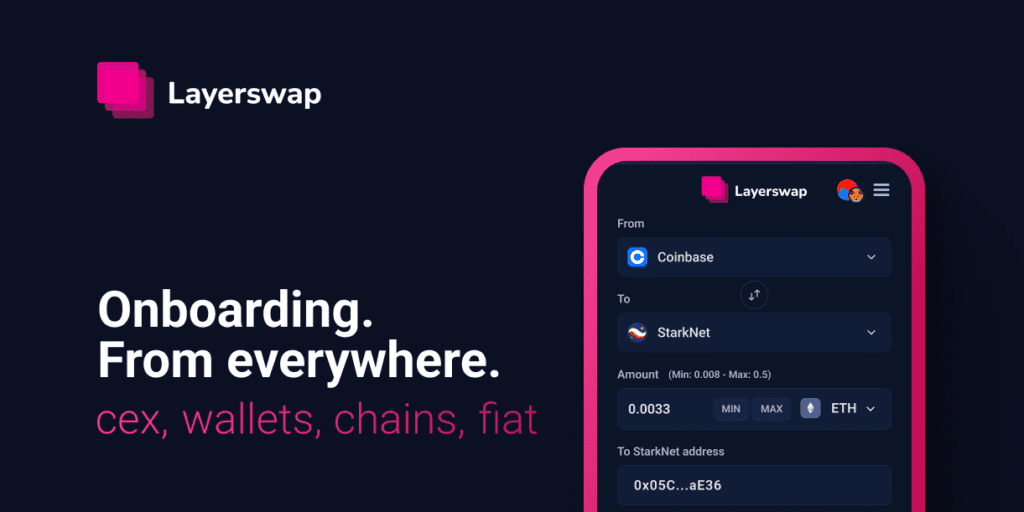
With the proliferation of Layer 2 to solve Ethereum’s problems of transaction speed, scalability, and expensive gas fees, the need to move assets from exchanges to Layer 2 is more significant than ever run out of. LayerSwap was born in this context with On-ramp, Off-ramp, and Cross-chain features, making asset transfer between systems easy, fast, and cost-effective. In this Layerswap review, we will learn about LayerSwap’s products.
What is Layerswap?

Layerswap is a tool that helps users bridge assets across Centralized Exchanges, blockchains, and wallets in minutes. It is the first and only bridge to help users directly transfer assets from centralized exchanges to Layer2 networks with low cost and fast transaction processing speed.
Currently, Layerswap is supporting more than 16 CEXs (such as Binance, Coinbase, Houbi, Kraken, Kucoin, OKX,…) and 11 Layer2 (Arbitrum, BNB, Loopring, Optimism, Starknet,…) with 7 types tokens (ETH, IMX, LRC, SNX, USDC, USDT, ZKS).
Layerswap is increasingly trying to expand its network with a variety of partners on Layer2, up to now partnering with ImmutableX, Argent, imToken, Optimism, Loopring, zkSync, Starkgate, Braavos Wallet, PERP exchange.
Bransfer develops Layerswap – the company that develops instant payment infrastructure for cryptocurrencies. It also allows transferring crypto assets between exchanges and helps users save on transaction fees, and eliminate confirmation times. Transfer was founded in 2021 and is headquartered in Middletown, Delaware.
Functions
- CEX users can transfer assets directly to the blockchain to explore, experience new applications/projects, buy NFTs, play games, or hold assets in L2 networks, DEXs, or wallets.
- Layer 2 networks and wallets allow users to deposit funds directly from CEX.
- Users can make instant cross-chain transactions at a reasonable cost.
- New crypto users can easily access Layer2.
Why is Layerswap exploding?
Layerswap is the first and only bridge to enable direct and instant transfers from CEXes to blockchains. On top of that, Layerswap:
- Cost savings: The fee for transferring assets on Layerswap is much cheaper than moving directly from exchanges to Layer 2 and blockchain. For example, if you transfer about 100 USD from Binance to Arbitrum, depending on the market time, but in general, you will incur roughly 70 USD in gas fees. One is the fee from the exchange to the wallet. The other is the swap fee across the bridges. With Layerswap, you only have to pay about 10 USD in transaction fees.
- Time-saving: After depositing from the exchange, it will only take 1-2 minutes of the transaction time for users to receive funds on blockchain or Layer 2. If withdrawing directly from the exchange to Arbitrum, the completion time can take up to 1 hour.
- Supports multiple blockchain networks, Layer 2, and large exchanges: The platform has enabled frictionless crypto transfers between 17 exchanges and 20 blockchains and cross-chain transfer. It supports the biggest exchanges today (like Binance, FTX, Kucoin, Huobi, OKX…), top L2s (like Arbitrum, Optimism to ZK Rollup like Immutable X, zkSync…), and many blockchain networks popular (like BNB Chain, Ethereum, Solana, Polygon…).
- Simple interface, easy to understand, and easy to use.
Product
LayerSwap is a unique product that converts assets between CEX – Layer2 and between Layer2. It offers three main features: On-ramp, Off-ramp, and Cross-chain.
- LayerSwap On-ramps allow users to convert assets from centralized exchange (CEX) into Layer2 blockchains.
- LayerSwap Off-ramp allows users to convert assets from Layer2 blockchains back to CEX.
- Finally, LayerSwap’s Cross-chain feature allows users to transfer assets between different Layer2 blockchains.
Types of fees
Layerswap provides a cost-effective solution for transferring assets between CEX and L2. However, the platform will still charge some of the following fees:
Service fee
Depending on the asset and network the user chooses on Layerswap, the platform will charge about 0.5 – 4 USD per swap.
Exchange fee
Some charge exchanges a fee for covering the gas fees of on-chain transfers. After filling in the swap details, you’ll see the applicable fees and comprehensive fee breakdown, as shown below.
Please note that in some cases, Layerswap might not be able to show the exchange fees, and you’d need to check on the exchange.
While transferrin from/to some exchanges, like Binance, the fees are refundable and will be returned to your account after the completion of the transfer. In such cases, you’ll see the “Refundable” note next to the exchange fee amount.
Layerswap Token
Currently, the project has no information about the token launch.
Note
If you make a significant transaction for fear of risk, you should split the transactions. As you know, any project in the market has the potential to be at risk. Like Hack or the team quit the project… (Read more about LayerSwap’s project team here)
But don’t worry because LayerSwap has also been accepted by Layer 2 as an official bridge. LayerSwap doesn’t have a token yet, so experience it now to receive the airdrop.
A few limitations:
- Currently, LayerSwap only allows one-way transfer from centralized exchange (CEX) to Layer 2, and has not announced the reverse transfer feature.
- For newbies, the steps to get the API from the exchange are relatively difficult. The liquidity pool is used to limit the transaction volume and sometimes will be blocked.
Basic User Manual
Transfer your assets from CEX to Loopring, ImmutableX, StarkNet, zkSync, Arbitrum, Optimism and other networks
Step 1: Fill in transfer details
In order to swap from an Exchange, start by selecting the exchange and network that you want to transfer between.
Next, you should specify the amount*, select the token, provide your wallet address, and click “Swap now”.
Before finalizing the swap, you’ll need to review and confirm the details. On the review page, you’ll see all the necessary information including source, destination, amount, fee, address, and will need to confirm that you’re the owner of the provided address.
Once you confirm the details, you’ll need to initiate a withdrawal from the exchange account to the address provided by Layerswap. Below we will give an example of withdrawal on Coinbase and Binance
1.On Layerswap’s “Connect your Coinbase account” page, click “Transfer manually”
2. Confirm the swap details
3. In your Coinbase account, click “Send & Receive”
4. Copy the address and amount shown in Layerswap
5. Paste the information in the respective fields on Coinbase and click “Continue”
6. Confirm the details and click “Send now”
7. The transaction will be completed in no time!
Binance
1. In your Binance account, under Profile, select “Fiat and Spot”
3. Select the token you want to transfer
4. Copy the Address provided by Layerswap
5. Paste the provided address in the “Address” field in Binance page
6. Select the withdrawal network to be as specified on Layerswap
8. Enter the amount to be transferred and click “Withdraw”
11. Get the Email Verification and Authenticator Codes, enter them in their respective fields and click “Submit”
13. Your transfer will be completed in no time!
Step 4: Confirmation & Completion
Once the transaction is complete, you’ll see a note confirming that the swap was successful.
Transfer your assets from Loopring, ImmutableX, BNB Chain, Optimism, Arbitrum to CEX
To transfer from a network, select the network and exchange that you want to transfer between, provide the exchange account address*, select the token, specify the amount and click “Swap now”.
On the review page, you’ll see the transfer details including source, destination, amount, fee, address, and will need to confirm that you’re the owner of the provided address.
After clicking “Confirm”, Layerswap provides the necessary information for sending assets from the network. You can automatically transfer funds from the connected wallet by clicking “Send from wallet” or send the assets manually from the network account to the deposit address provided by Layerswap. The provided deposit address is being generated for each user by Layerswap. The transaction can’t be completed if you haven’t sent funds to the address.
If you’re transferring from Loopring or ImmutableX, please refer to the guides for a seamless experience.
Step 4: Confirmation & Completion
Once the transaction is complete, you’ll see a note confirming that the swap was successful.
Transfer your assets between blockchains
Step 1: Fill in transfer details
Firstly, select the networks that you want to transfer between, specify the amount, select the token, provide the deposit address and click “Swap now”.
Before finalizing the swap, you’ll need to review and confirm the details. On the swap review page, you’ll see all the necessary information including source, destination, amount, fee, address, and will need to confirm that you’re the owner of the provided address.
Here you should click on “Send from wallet” for initiating a transfer from the connected wallet and confirm the transaction in your wallet.
You can also do the transaction without connecting a wallet. For that, you’ll need to manually send funds to the provided deposit address. Follow the steps below for a detailed guidance. Here are manual conversions, you can also switch from Loopring or ImmutableX.
1. You’ll be provided with a deposit address to which you’ll need to send funds.
2. To send from a wallet, sign in and make sure you’re on the right network.
3. Click “Send”, copy and paste the information provided by Layerswap.
4. Confirm the transaction on the wallet.
Step 4: Confirmation & Completion
Once the transaction is complete, you’ll see a note confirming that the swap was successful.
Conclusion – Layerswap Review
Above is an article on how to use LayerSwap, hoping to help you easily bridge assets to L2 with the best cost and speed. This is a potential project with a unique business model and useful tools for users. With the increasing demand for digital asset conversion on Layer 2 blockchains, LayerSwap promises to receive more attention from the community in the near future.
DISCLAIMER: The information on this website is provided as general market commentary and does not constitute investment advice. We encourage you to do your own research before investing.
Join us to keep track of news: https://linktr.ee/coincu
Foxy
Coincu News


